Epoxy garage floors fail in a predictable way: the coating lifts in sheets, usually starting at the door or under where a car parks, usually within the first two years.
Almost none of those failures are the product. They are the preparation.
Why bond is the whole problem
Epoxy is a coating relying entirely on mechanical and chemical adhesion to the concrete beneath it. It has no tolerance for a weak layer in between.
A garage slab accumulates several such layers: a dusty laitance from the original finish, years of oil and tyre plasticiser, concrete sealer from whoever sealed it at handover, and moisture coming up from the ground.
Every one of those has to be dealt with. The coating is the easy part.
The moisture test, first
Do this before anything else, because it can change the entire plan.
Tape a square of plastic sheet, around 500mm, tightly to the slab on all four sides and leave it 24 to 72 hours. Lift it. Condensation underneath, or a visibly darker patch of concrete, means moisture is migrating up through the slab.
Epoxy over a slab with active moisture vapour transmission will fail, regardless of how well everything else is done. Hydrostatic pressure pushes the coating off from underneath.
If the test is positive you need a moisture-tolerant primer or a vapour barrier system, not a standard epoxy. This is most common in garages built on grade with no membrane under the slab, which describes a great many older Sydney homes.
Degreasing, properly
Oil in a garage slab is not on the surface. It has been soaking in for years and it is deep in the pores.
A single wash will not get it out. Expect multiple applications of a proper alkaline degreaser with real dwell time, agitation with a stiff brush or a rotary scrubber, and a thorough rinse between rounds.
Test by wetting the slab. Water should darken the concrete evenly. Any area that stays light is still oil-contaminated and will be a bond failure point.
Deep contamination sometimes needs a poultice — an absorbent paste left on the spot to draw oil out over 24 hours. Slow, and better than discovering the problem after coating. The method is the same as for driveway oil stains.
Mechanical profiling
This is the step that cannot be substituted, and the one homeowners most often try to skip.
Epoxy manufacturers specify a surface profile, usually expressed as a CSP number. For most garage coatings that means diamond grinding or shot blasting. Washing a slab, however thoroughly, does not create a profile.
Grinding does three things at once: it removes the weak laitance layer, it takes off any existing sealer, and it opens the pore structure so the epoxy can key in mechanically.
Acid etching is the DIY alternative and it is markedly inferior. It produces an inconsistent profile, leaves salt residue that has to be neutralised completely, does nothing about oil, and does not remove a sealer. Most coating manufacturers no longer accept it as preparation, and some void warranties over it. If the kit you bought includes an etching sachet, that tells you what tier of product it is.
The distinction between cleaning and grinding is covered in concrete grinding vs pressure cleaning.
Existing sealer
Many garage slabs were sealed at build and nobody remembers. Epoxy will not bond to a sealed surface.
Test by dripping water on several areas. Beading means sealer. It has to be ground off — all of it, across the whole floor, because a patch left behind becomes a delamination.
Cracks and joints
Fix before coating, not after.
Static cracks get cut out, filled with an epoxy or polyurea repair product, and ground flush. Control joints are usually filled with a flexible joint filler, and the decision about whether to coat over them or honour them should be made deliberately — coating over a moving joint means the coating cracks along that line.
And check for drummy concrete by tapping. Delaminated slab will take the coating off with it when it eventually lets go.
The conditions
Epoxy is temperature and humidity sensitive, and Sydney breaches the windows regularly.
Most systems want slab temperature between about 10 and 30 degrees, relative humidity under 85 percent, and the slab at least 3 degrees above dew point. A Sydney summer garage can be well above 30, and a humid morning can be above 85 percent.
Pot life also shortens sharply with temperature. Mixed epoxy that would give you 40 minutes at 20 degrees may give you 15 at 32, and it will go off in the bucket.
Autumn and spring are the sensible seasons.
The realistic sequence
- Moisture test the slab
- Clear the garage completely
- Degrease, repeatedly, until water wets evenly
- Repair cracks and address joints
- Diamond grind to the specified profile
- Vacuum thoroughly with HEPA extraction
- Prime, if the system calls for it
- Coat, within the conditions window
- Cure before foot traffic, and considerably longer before a car
That last point catches people. Light foot traffic is usually a day or two; vehicle traffic often seven days or more. Parking on a green coating leaves permanent tyre marks and can lift it entirely.
The cleaning and degreasing side
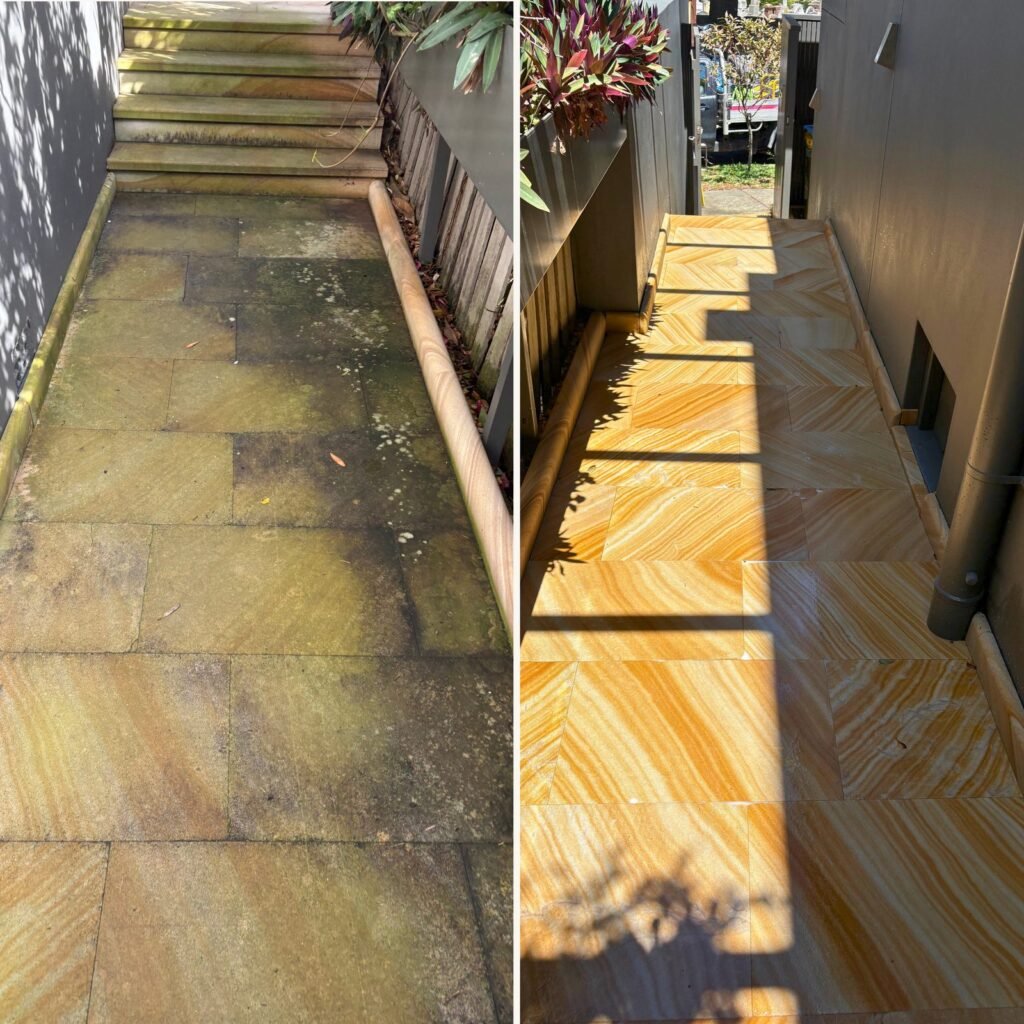
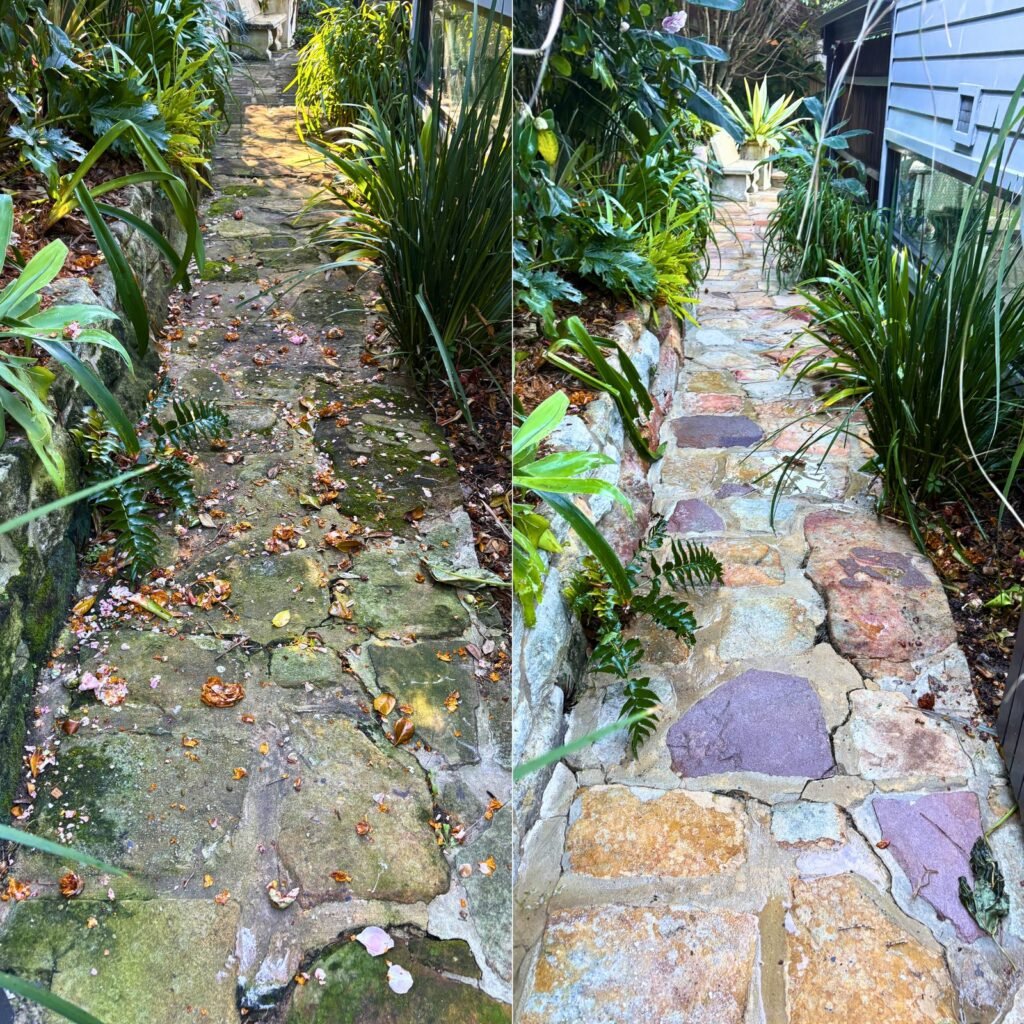
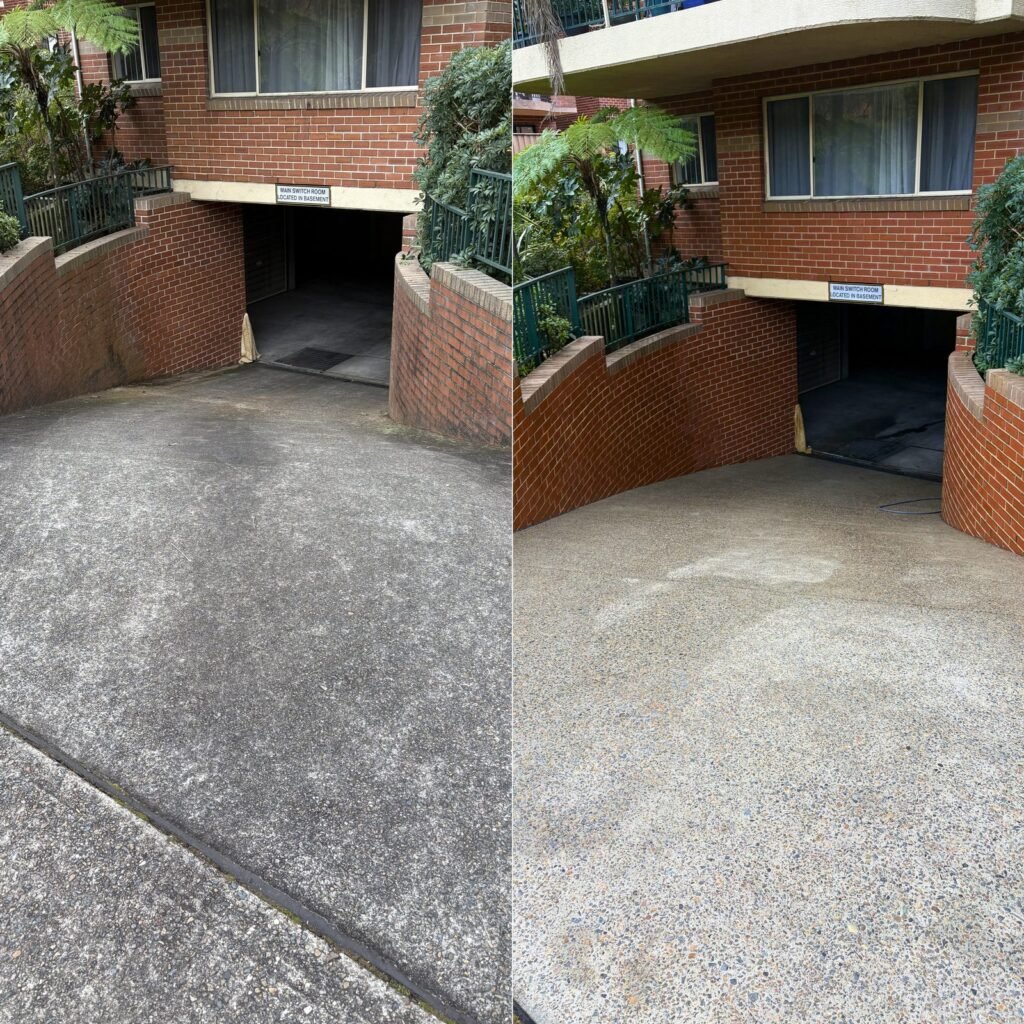
We do the washing and degreasing stage, which on a neglected garage slab is the bulk of the work and the part that decides the outcome. See concrete cleaning.
If the moisture test comes back positive, the honest advice is to deal with that before spending anything on a coating.