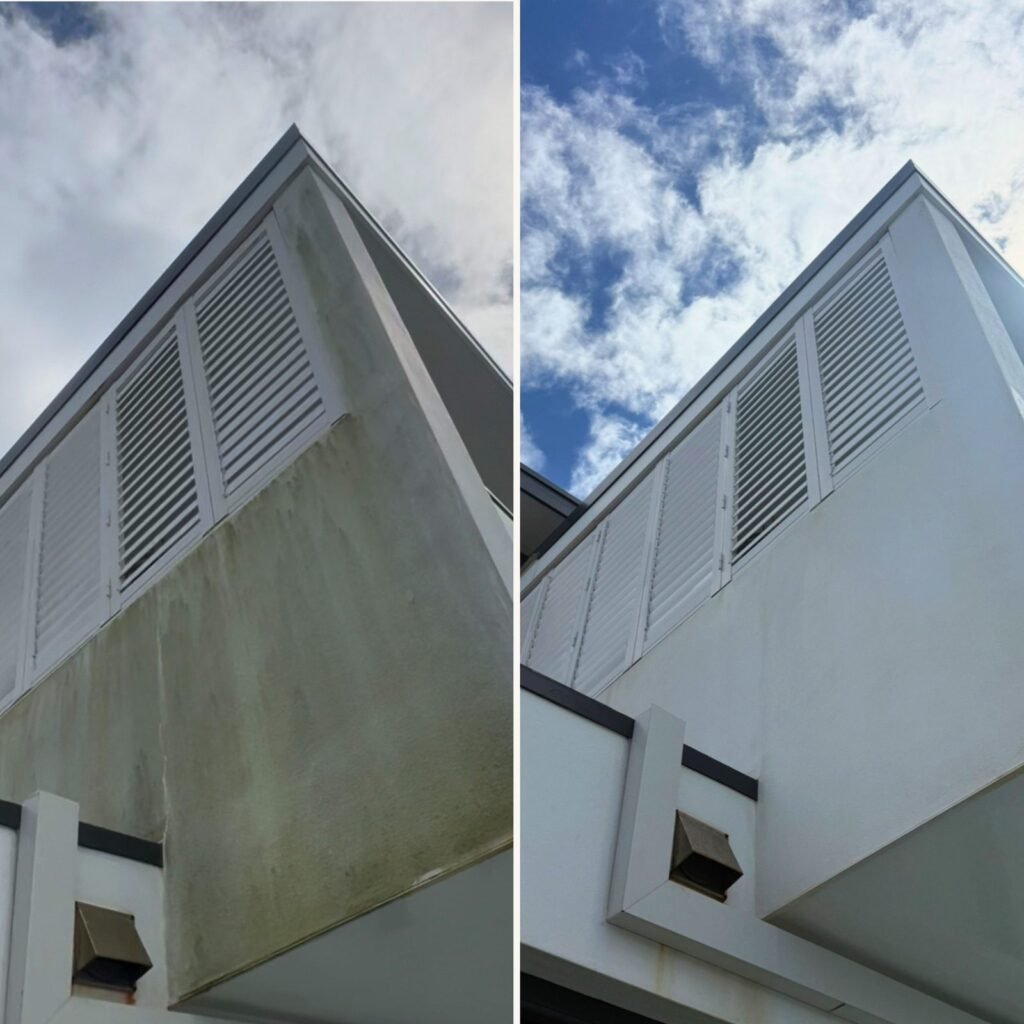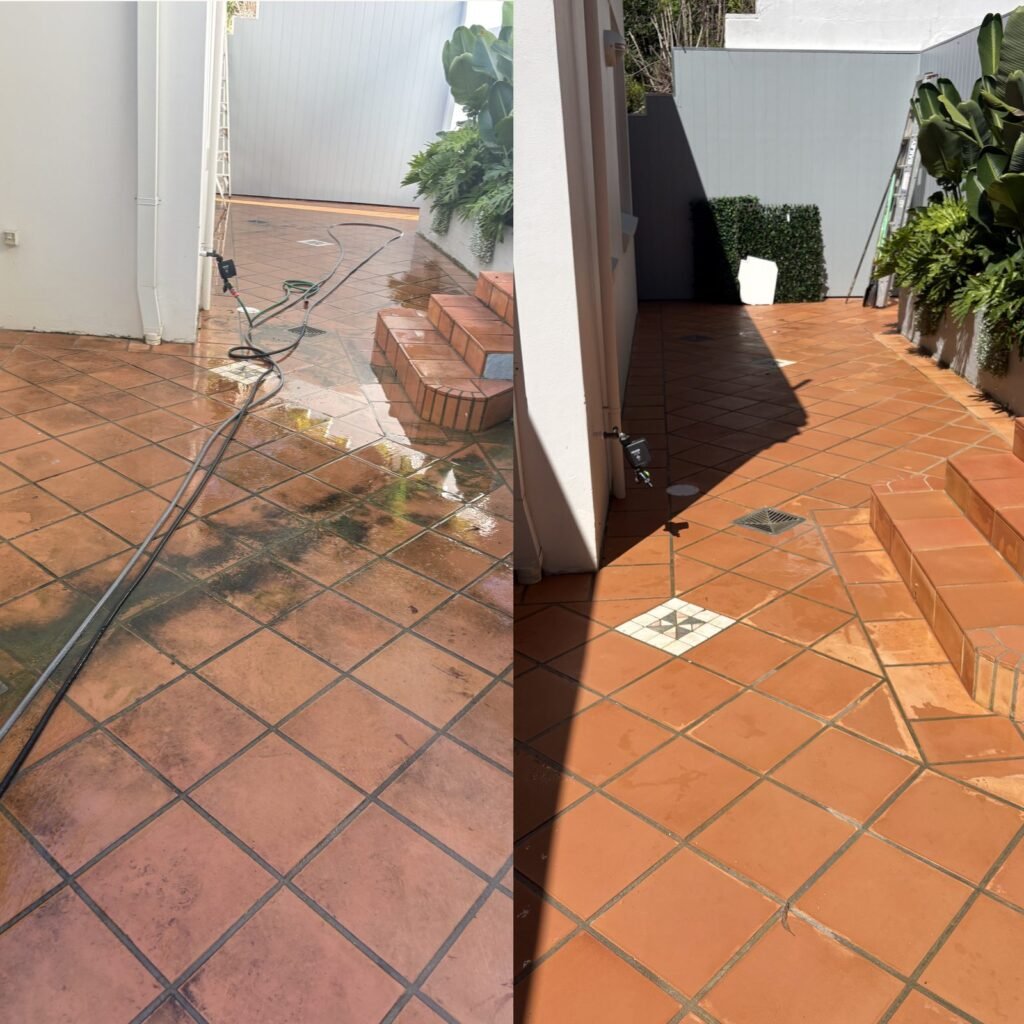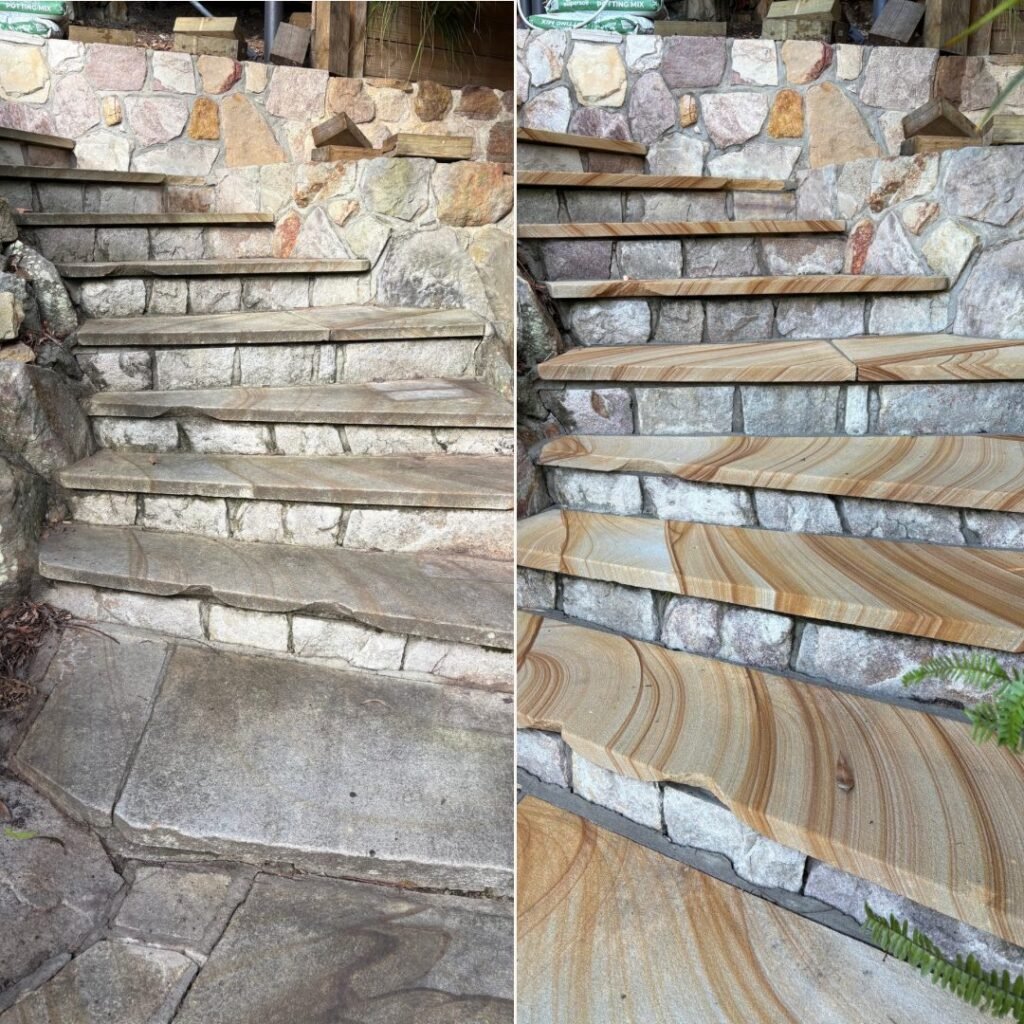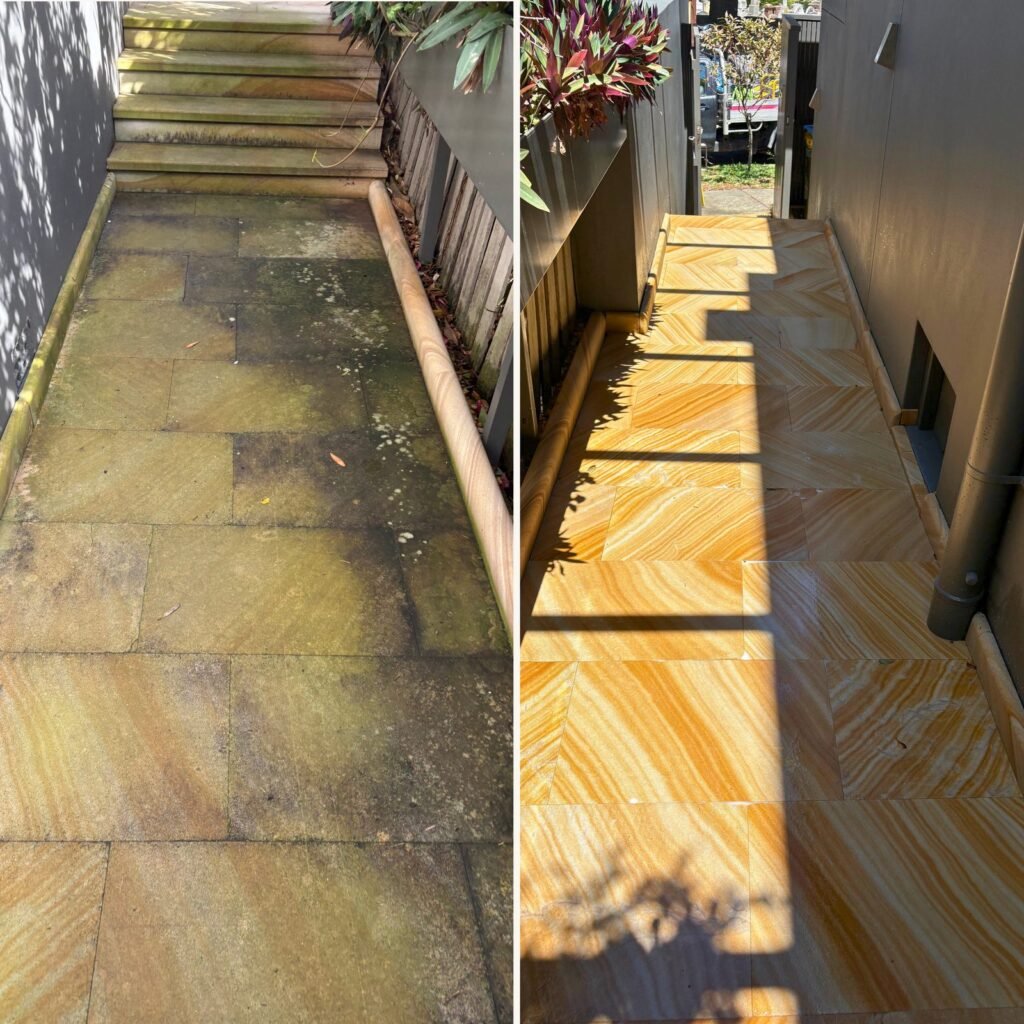
This business was built around one observation: most of the exterior damage we are called out to look at in Sydney was not caused by weather or neglect. It was caused by the last person who cleaned the place.
Pitted sandstone. Render with the paint stripped in stripes. Roof tiles cracked by someone walking a valley. Timber decking furred up so badly it needed sanding back. Every one of those was somebody being paid to improve the property.
So we think the method matters more than the marketing, and we would rather publish ours than ask you to take it on faith. Here is what actually happens when we soft wash a house.
What soft washing is, briefly
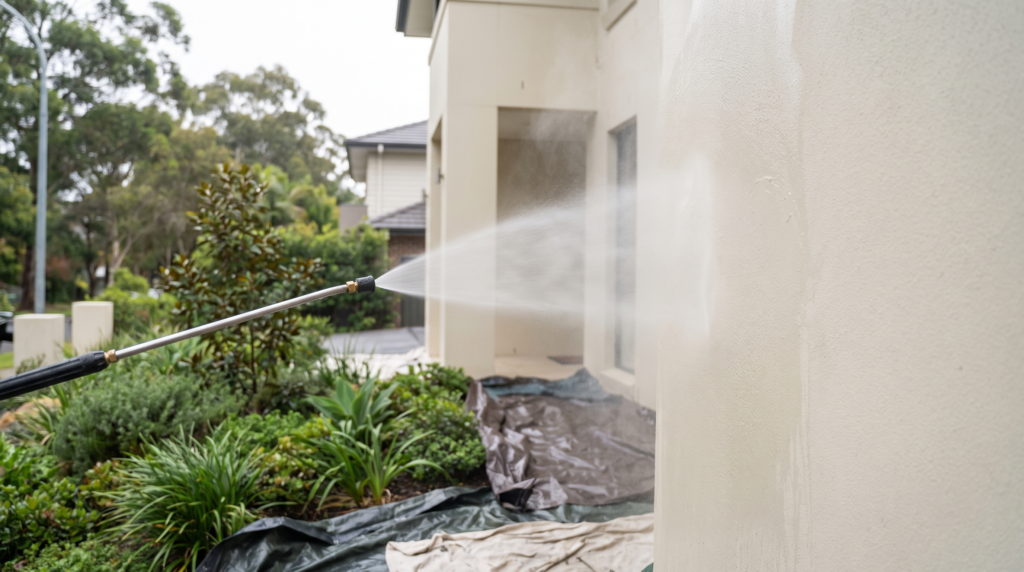
Soft washing cleans with chemistry and dwell time instead of force. Pressure is kept low — roughly what a garden hose delivers — and the work is done by a correctly diluted cleaning solution that kills the mould, algae and lichen at the root, then gets rinsed away.
High pressure removes what is on the surface. Soft washing removes what is growing in it. That is why a pressure-washed wall greens up again within months and a properly soft-washed one does not.
Step 1: Survey before anything gets wet
We walk the property first and identify every surface individually — painted render, bagged brick, face brick, sandstone, limestone, Colorbond, fibre cement, weatherboard, powder-coated aluminium, timber. Each one has a different tolerance, and a house is rarely just one of them.
We are also looking for the things that turn a wash into a repair bill: perished window seals, unsealed light fittings, open weep holes, flaking paint already lifting at the edges, gaps in the cladding, and any rendered area that sounds hollow when tapped. If render is already drummy, water will get behind it no matter how gently it is applied, and we will tell you before we start rather than after.
On heritage and older properties this step takes longer, because the substrate is usually softer than it looks and previous repairs are rarely documented.
Step 2: Protection goes down first
Before any solution is mixed:
Plants get a pre-soak with clean water and are covered where they sit directly under the work. Wetting foliage first is the single most effective thing you can do to protect a garden — a dry leaf absorbs whatever lands on it, a saturated one largely sheds it. Anything precious gets sheeted.
External power points, light fittings, air conditioning units, security cameras and door bells get covered and taped. Windows and doors are checked closed, and we look for the gaps that are not obvious — old timber sashes and unsealed weep holes are the usual culprits.
Drainage is checked so runoff goes where it should and not into a pool, a pond, or the neighbour’s paving.
On rainwater tank properties, downpipes are isolated before a drop of solution goes on the roof, and reconnected afterwards. If nobody has asked you whether you are on tank water, they have not thought about where the runoff goes.
Step 3: Mixing to the surface, not to a habit
Dilution is measured, not eyeballed, and it is set by the surface and the severity of the growth — not by whatever was in the tank from the last job.
A heavily lichened north-facing render wall and a lightly shadowed painted weatherboard get different mixes. Sandstone and limestone get a pH-appropriate product chosen for soft stone, never a strong acid and never a generic all-surface cleaner. Colorbond gets a mild detergent that lifts chalk and salt without attacking the coating.
Where we are uncertain — an unusual coating, a painted finish of unknown age, anything heritage — we test a small inconspicuous patch and wait, rather than committing the whole elevation.
Step 4: Apply low, work bottom up
Solution goes on at low pressure in an even coat, applied bottom to top. Working upwards prevents the clean streaks that appear when solution runs down a dry dirty wall and etches tracks into it. It is a small discipline that shows up clearly in the finished result.
Then it dwells. This is the part that cannot be rushed and the part most operators skip, because standing still does not look like work. The solution needs time to break down the biological growth. Rinsing early means the surface looks clean, the root structure survives, and it returns quickly.
The surface is kept wet through the dwell — solution that dries on a wall stops working and can mark it.
Step 5: Rinse thoroughly, top down
Rinsing is top to bottom, at low pressure, and it takes longer than people expect. Residue left on a surface keeps working after we leave, which is how you get patchy fading weeks later.
Plants get a second clean-water flush, whether or not anything landed on them. Paths and paving get rinsed so nothing dries as a film. Windows get checked, because a wash that leaves the glass spotted is not finished.
Step 6: Walk it with you
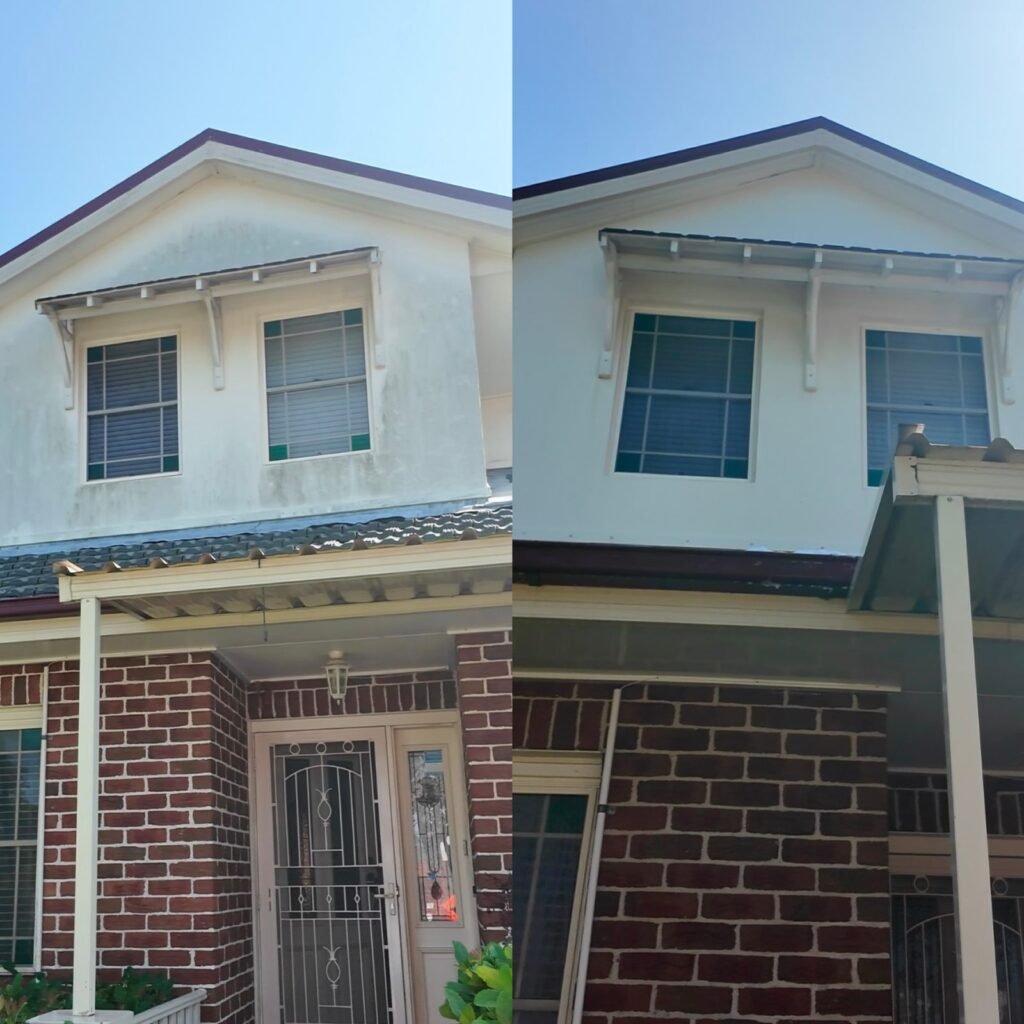
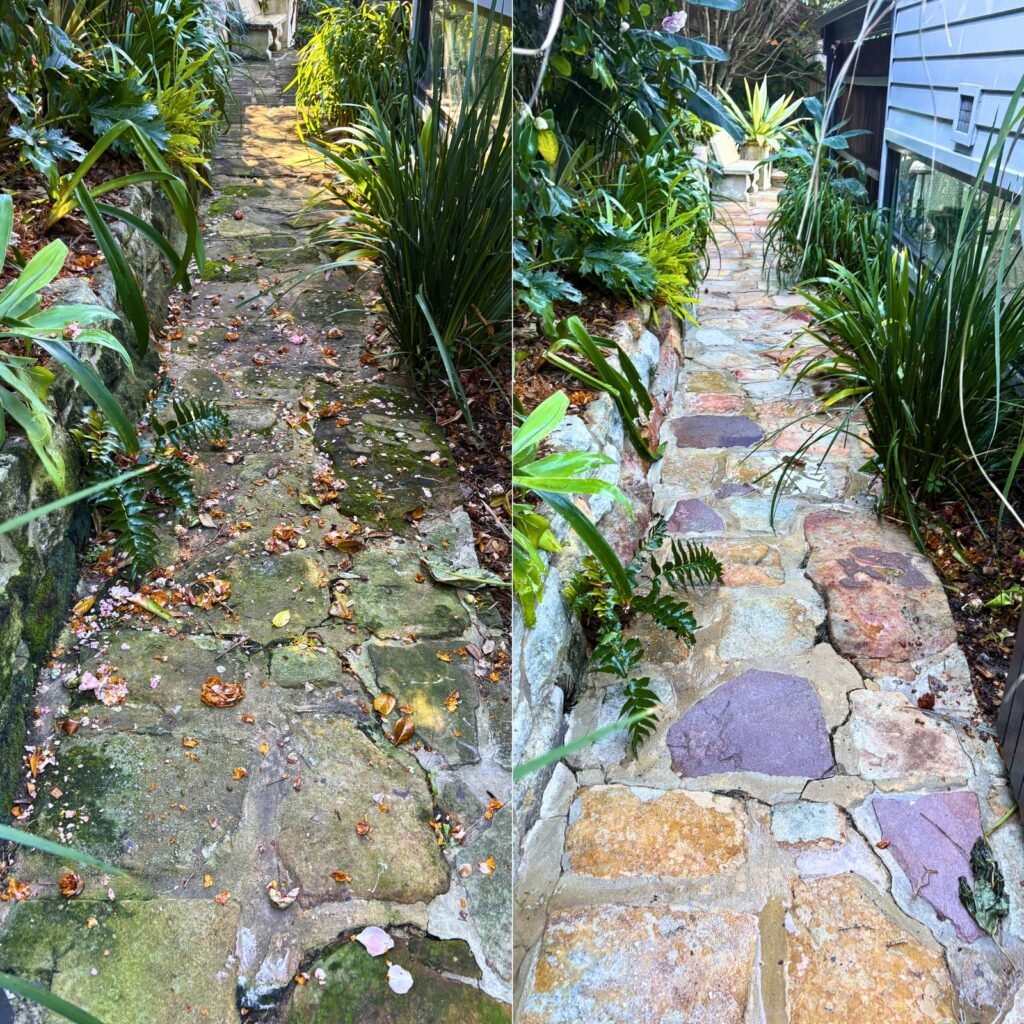
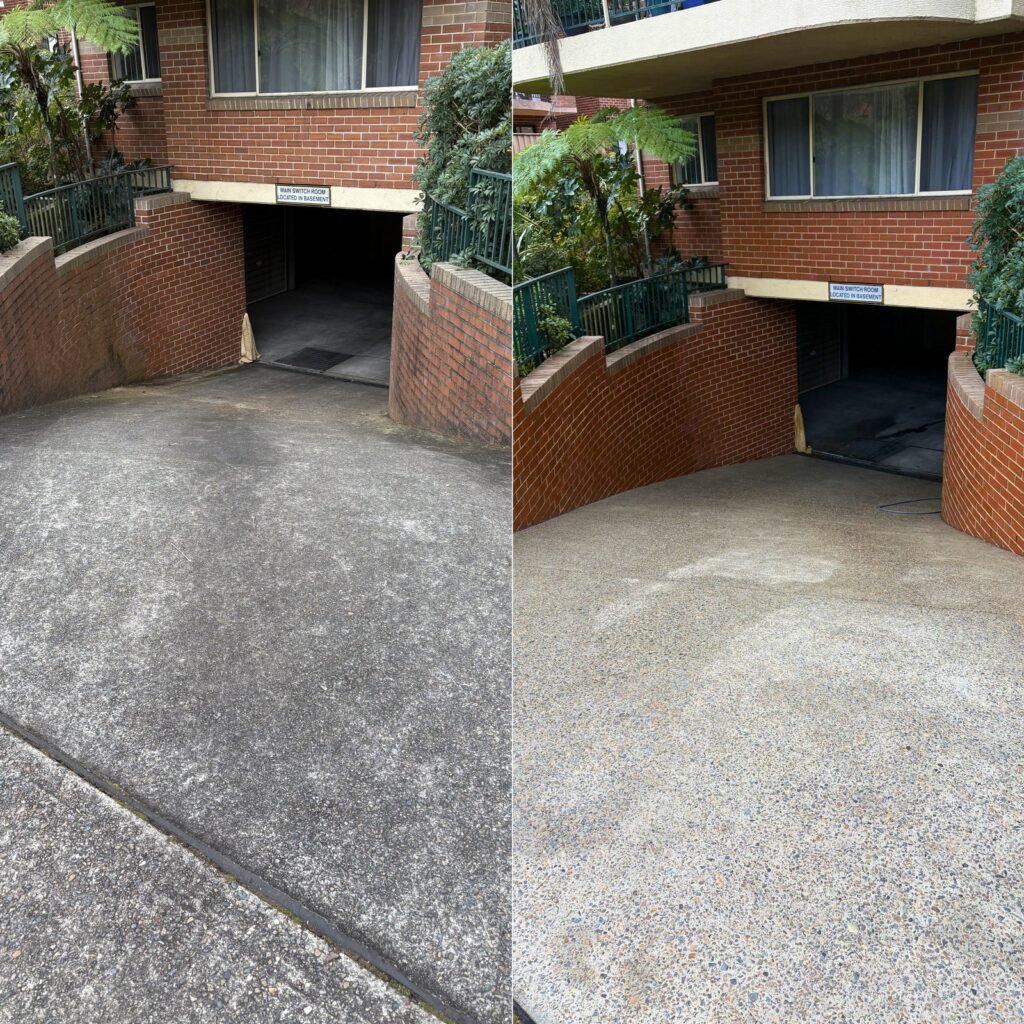
We photograph before and after, and we walk the property with you if you are home. If something did not come out — and sometimes it does not, because staining that has been in a porous surface for a decade is not always removable — we say so plainly rather than hoping you do not notice.
Working at height
A lot of exterior cleaning injuries are ladder falls, and a lot of property damage happens because someone chose the fastest access rather than the right one.
We work off the ladder or from a safe roof position wherever possible rather than walking a roof, because every step on a tiled roof is a chance to crack a tile and every step on a wet metal roof is a slip. Slate and old terracotta we treat as no-walk surfaces by default. Where a roof genuinely must be accessed, it is done with proper height safety, not confidence.
We carry $20 million public liability cover, and we are happy to send the certificate of currency with the quote rather than waiting to be asked. If a contractor cannot produce one on request, that tells you something.
The jobs we turn down
This is the part that matters most, and it is the reason the method above is worth anything.
We will not high-pressure sandstone, limestone or heritage brick. We will not pressure wash roof tiles. We will not wash render that is already drummy or paint that is already failing, because the wash will finish what was already happening and we will be blamed for it. We will not clean over a defect and hand the property back looking fine.
In each of those cases we would rather explain the problem, quote for what can safely be done, and lose the job than take the money and cause damage. A cheap clean that costs you a repointing bill or a sandstone restoration is not cheap.
What this looks like in a quote
Fixed and in writing, within 24 hours. Method stated per surface, so you can see we have identified what your house is actually made of. Scope explicit about what is included and what is not. No deposit, and no pressure to decide on the spot.
If you want to see the method applied to your property, request a fixed written quote. Or read more about what soft washing a house involves, our house washing service, and the standard behind the name.