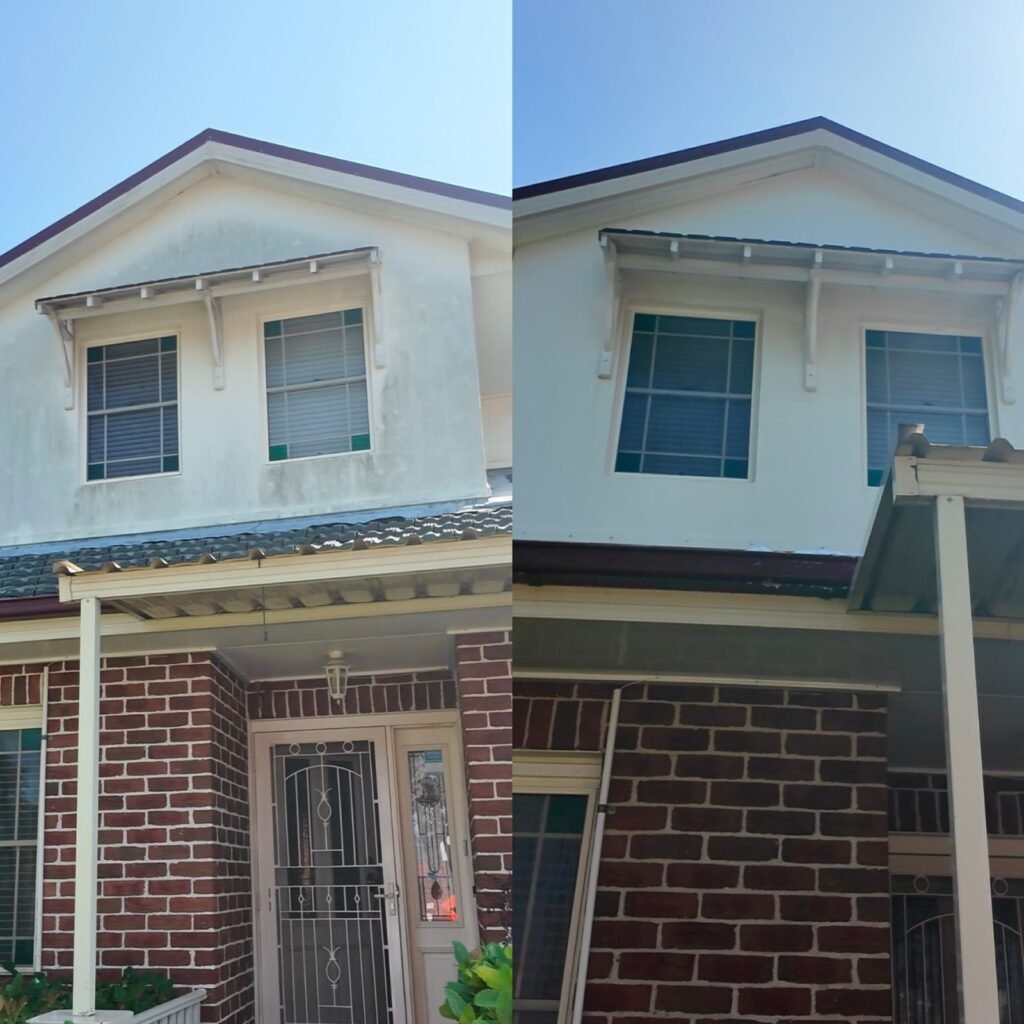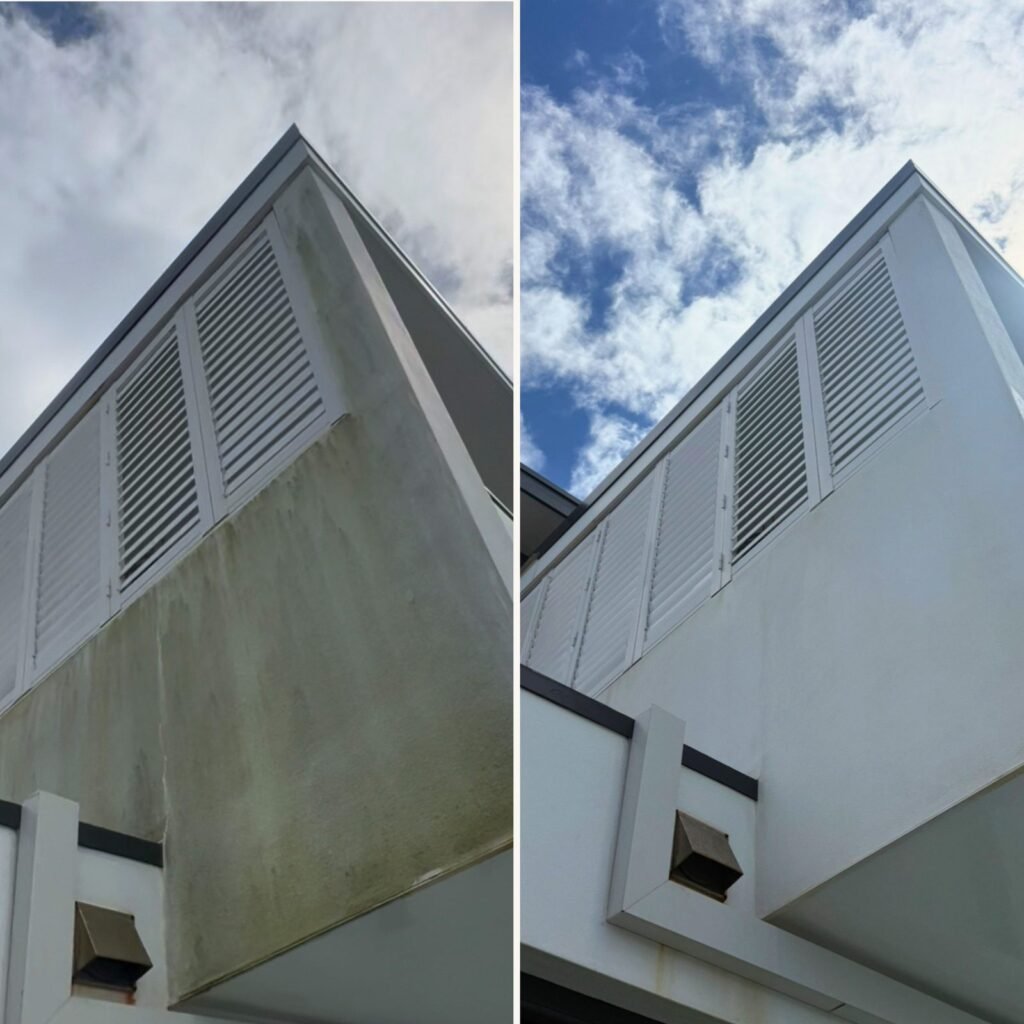
A rendered wall that is both dirty and cracked presents a sequencing problem. Clean it first and you force water into the cracks, behind the render, and into whatever is underneath. Repair it first and you are patching over grime, which affects how the repair bonds and how it looks.
The answer depends on what kind of cracking you have, and that is worth being able to read.
Reading the cracks
Hairline crazing. A fine web across the surface, under a millimetre, no pattern. Shrinkage in the render coat or the paint film. Cosmetic, extremely common, and not a structural concern. Safe to clean with low pressure.
Map cracking. Slightly wider, interconnected, covering an area. Usually a render mix or application issue — too rich, applied too thick, or dried too fast. Not structural, but water gets in, so it should be sealed before it causes delamination.
Straight vertical cracks. Often at a window or door corner, or at a control joint that was never properly formed. Usually movement. Worth monitoring and sealing.
Diagonal cracks, particularly stepping through the wall. These follow the mortar joints of the masonry behind and generally indicate structural movement — footing settlement, reactive clay soil, or a nearby tree. Sydney has a lot of reactive clay, and this is not unusual. It is also not a cleaning problem. Get it assessed.
Horizontal cracking along a line. Can indicate corrosion of a lintel or wall tie behind the render, with rust expansion pushing it off. On a coastal property that is a real possibility, and it relates to the same mechanism as concrete cancer.
Cracking with staining or damp patches. Water is already getting through. Fix before anything else.
Drummy render
The more important test, and the one that is almost never done.
Tap the wall with a knuckle or a screwdriver handle, working across it. Well-bonded render gives a solid, dull sound. Render that has delaminated from the substrate behind gives a distinctly hollow knock.
Drummy render is already detached. It is held on by friction and the surrounding sound render, and it will come off. Running a pressure washer over it will take it off that day, which is how a cleaning job becomes a repair job and an argument about who pays.
Tap before you wash. It takes five minutes on a wall and it is the single most useful thing a homeowner can do before getting a quote.
Why washing a cracked wall makes it worse
Three mechanisms, and they compound.
Water driven into a crack under pressure goes behind the render. Once there it cannot easily evaporate out through the face, so it sits in the interface, weakens the bond and spreads the delamination outward from the crack.
On a cavity wall or a lightweight substrate, that water reaches material that is not meant to be wet. On a solid masonry wall, it feeds the salt crystallisation that causes fretting and efflorescence.
And pressure applied directly at a crack edge lifts the render lip, widening the crack mechanically.
This is the general argument for soft washing rather than pressure washing render, which we make in removing mould and algae from render without wrecking the paint.
Render type matters
The three common systems look similar and behave differently, which we cover in cement render, acrylic render and texture coat.
Traditional cement render is rigid and cracks relatively readily, but it is also the most straightforward to patch.
Acrylic render is flexible and cracks less, but when it does crack over a substrate issue, water behind it has nowhere to go because the render itself is far less permeable.
Texture coat over foam or lightweight panel is the one to be most careful with. Cracking in these systems can indicate a joint or fixing problem behind, and water entry into a foam substrate is a serious matter. See foam cladding: the wall that dents under a pressure washer.
The right order
- Assess. Tap the wall. Identify the crack pattern. If it is diagonal, stepped, horizontal along a line, or widening, get a structural opinion before spending money on finishes.
- Fix the cause if there is one — drainage, the leaking downpipe, the tree roots, the failed sealant at a window.
- Repair. Remove drummy render back to sound material, rake out and fill cracks with a flexible repair product, re-render where needed.
- Clean. Soft wash, now that the wall is sound and sealed.
- Paint if that is part of the plan, with the prep done properly — see washing before painting.
The exception is light hairline crazing on a sound wall, where cleaning first is fine and often all that is needed.
If the wall is sound
Most rendered walls we look at are structurally fine and simply have mould, algae and grime on them, particularly on the shaded side. Those clean up well at low pressure with the right chemistry, and the result lasts years.
If yours is in that category, see render cleaning.
If it is not, we will tap the wall, show you what we are hearing, and tell you what needs doing first. That occasionally means we do not get the job, which is a better outcome than taking render off your house.