Pavers fail at the joints first. The sand washes out, weeds and ants move in, the pavers start to rock, and a surface that looked sharp when laid becomes a patchwork of lifted edges and green lines. Cleaning fixes how it looks. Re-sanding fixes how it works. Sealing makes both last.
We do a lot of this work across the inland Upper North Shore and Sutherland Shire, where large concrete paver driveways and pool surrounds from the 1990s and 2000s are due for their second or third round of attention. This is the full process, with the sand comparison people ask about most.
How should pavers be cleaned before re-sanding?
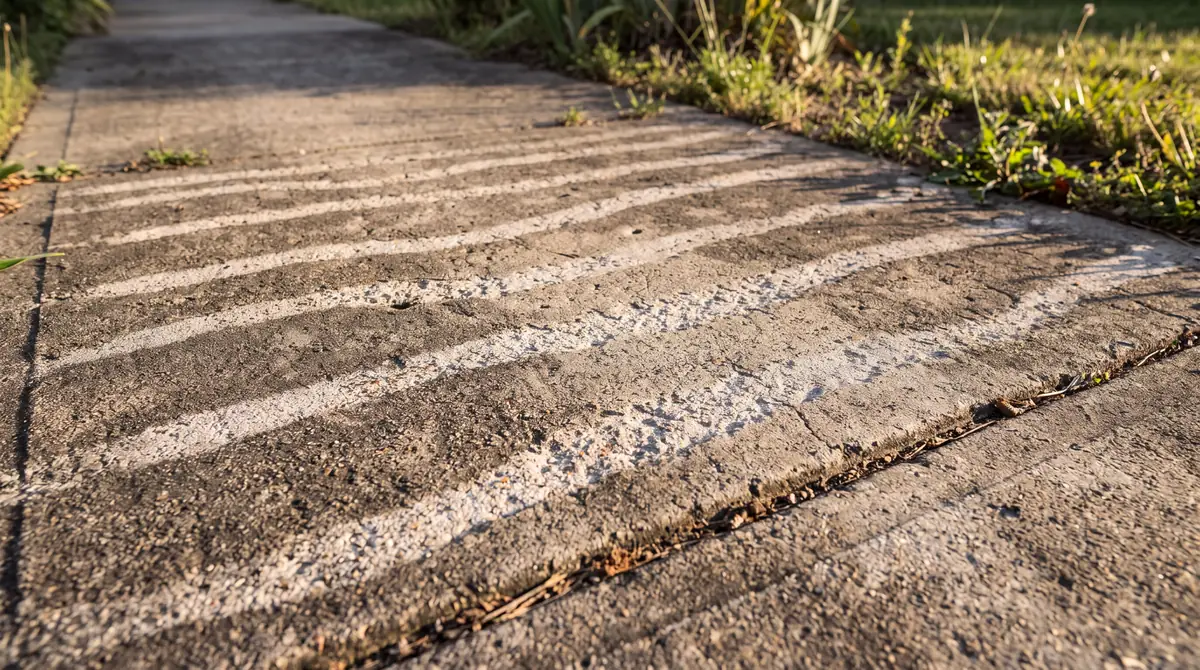
Pavers should be cleaned with a rotary surface cleaner at 2,000 to 3,000 psi for concrete pavers and 1,500 to 2,000 psi for clay, after a pre-treatment for organic growth. The surface cleaner is key. A hand wand strips the joints unevenly and leaves wand marks across the pavers, while a surface cleaner gives a flat, even result and lets us control how much old sand comes out.
Our sequence on a typical 80 square metre paver driveway.
- Pre-treat moss, algae and black lichen with a sodium hypochlorite blend at 2 to 3 percent, 15 minute dwell. Lichen gets a second application.
- Surface clean in overlapping passes, 500 mm deck, with recovery on steep driveways so the slurry does not run to the street.
- Deliberately flush the joints to a depth of 15 to 25 mm with a fan tip. We want the old, contaminated sand out so the new sand bonds to clean paver edges.
- Treat oil and rust spots separately with a degreaser poultice or a rust remover suited to concrete.
- Rinse thoroughly and let the paving dry for at least 48 hours before any sand goes in.
Efflorescence, the white bloom on newer concrete pavers, is treated separately with a mild buffered efflorescence remover, on concrete pavers only, and is neutralised and rinsed before sealing.
Slurry from paver cleaning is heavy in sediment and must not enter stormwater. Northern Beaches Council's stormwater and pollution information is at northernbeaches.nsw.gov.au (accessed October 2026), and Ku-ring-gai Council publishes equivalent rules at krg.nsw.gov.au (accessed October 2026). We run water recovery on driveways that fall toward the kerb.
Polymeric sand or kiln-dried sand: which should you use?
Use polymeric sand on driveways, pool surrounds, sloped areas and anywhere ants, weeds or washout are a problem. Use kiln-dried sand with a liquid joint stabiliser on sheltered, level courtyards with narrow joints and good drainage. Polymeric costs roughly twice as much in material and is less forgiving to install, but it holds for years where plain sand holds for months.
| Factor | Kiln-dried sand | Polymeric sand |
|---|---|---|
| What it is | Fine, dried silica sand swept into joints | Graded sand mixed with polymer binders that set when wetted |
| Joint width suited | 2 to 6 mm | 3 to 25 mm depending on product |
| Material cost per m² (indicative) | $2 to $4 | $6 to $12 |
| Install sensitivity | Low. Sweep in, compact, sweep again | High. Surface must be bone dry, excess fully removed before activation, or it stains the paver face |
| Resistance to washout | Low. Washes out of sloped joints in one storm | High once set. Flexes rather than cracking |
| Weed and ant resistance | Low without a stabiliser | High. Firm joint blocks most growth and tunnelling |
| Expected life before top-up | 6 to 18 months | 3 to 6 years |
| Repairability | Easy. Sweep in more sand | Moderate. Old polymeric must be dug out before re-filling |
| Works with sealers | Yes. Sealer applied after sand helps lock it | Yes, but wait for full cure (usually 24 to 48 hours) before sealing |
| Best for | Level courtyards, paths under cover, tight joints | Driveways, pool surrounds, slopes, wide joints, anywhere weeds return |
The one case where we steer people back to kiln-dried sand is a very porous or textured paver. Polymeric residue left on a textured face is extremely hard to remove and shows as a grey haze under the sealer. On a heavily exposed-aggregate paver that is a real risk, and plain sand with a stabiliser is the safer call.
Install matters more than brand. Polymeric sand swept into a damp joint, or left on the surface when the water goes on, causes almost every polymeric failure we see. We sweep, compact with a plate compactor fitted with a rubber mat, sweep again, blow the surface clean with a leaf blower on low, and only then mist the joints in three light passes. Then we leave it alone for 24 hours minimum.
Need this done properly? Request a quote or call 0494 810 609. We service the Upper North Shore, Northern Beaches and Eastern Suburbs.
Which sealer should go on pavers and when?
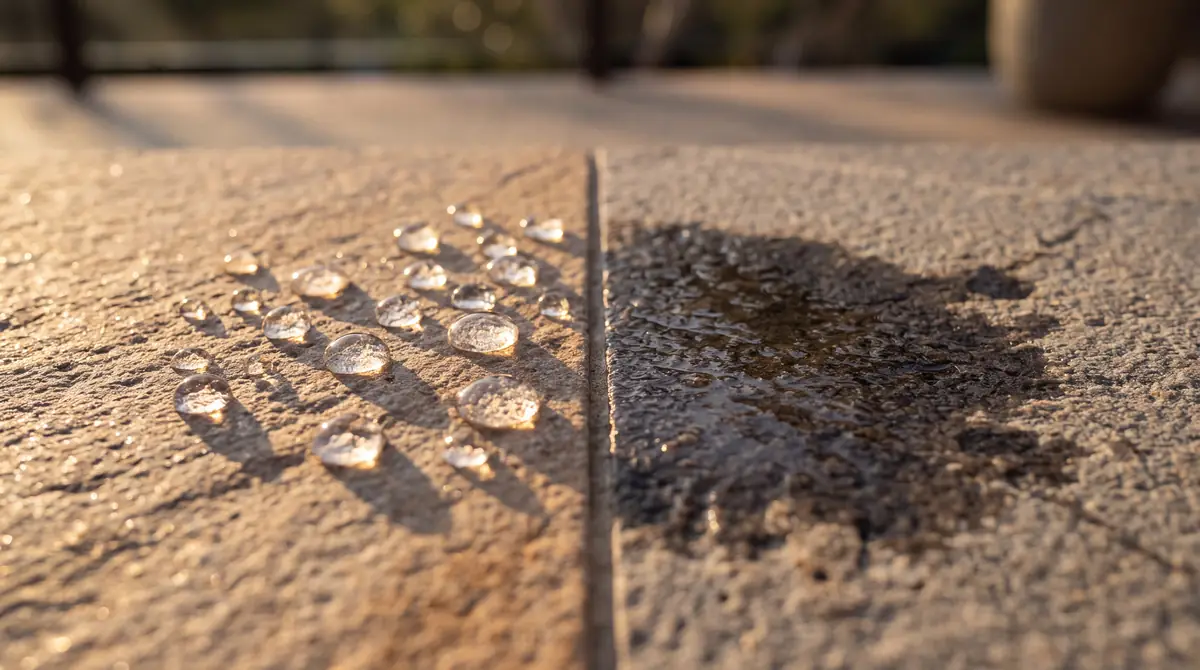
Concrete pavers take either a solvent-based acrylic sealer, which gives a light sheen and darkens the colour, or a water-based penetrating sealer that leaves them looking natural. Clay pavers almost always suit a penetrating sealer because acrylics tend to trap efflorescence and go white. Timing is the same for both. Clean, dry for 48 to 96 hours, sand, cure, then seal.
The decision comes down to the look the owner wants and how the area is used.
- Driveway, concrete pavers, owner wants a "wet look". Solvent acrylic, two coats, re-coat every two to three years. Add a slip-resistant additive to the second coat on any slope.
- Pool surround, concrete or clay. Water-based penetrating sealer with no film, so the slip resistance of the paver is unchanged. Australian Standard AS 4586 is the reference for pendulum slip testing of pedestrian surfaces, and film-forming sealers can move a surround out of its wet-area rating. Standards Australia's catalogue is at standards.org.au (accessed October 2026).
- Courtyard or path, clay pavers. Penetrating sealer, one or two coats.
- Any area already sealed with an acrylic that is sound. Same type again after a solvent wipe test.
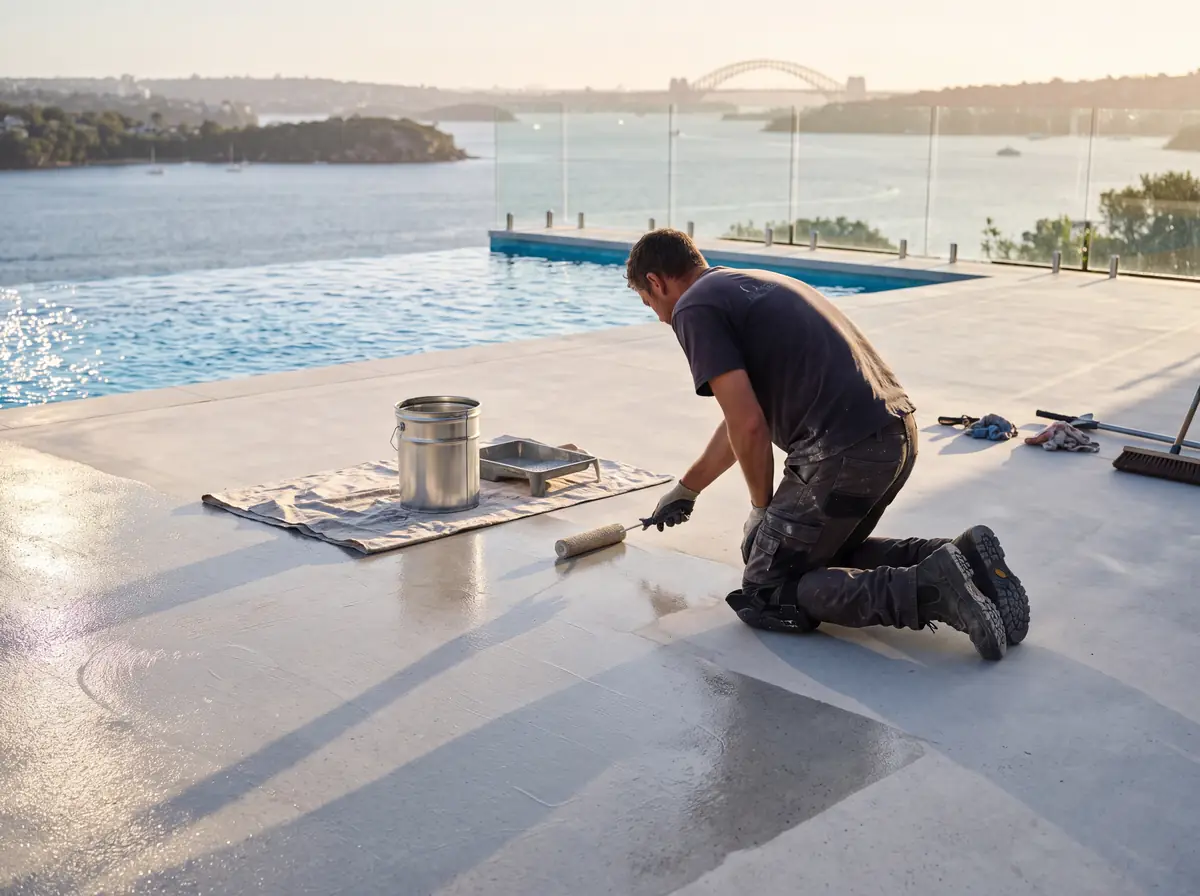
Application on a typical 80 square metre area takes two to three hours with a low-pressure sprayer and back-rolling. The area stays traffic free for 24 hours for feet and 72 hours for vehicles. We check the forecast three days out and reschedule rather than seal into rain.We price every job on request after measuring the surfaces, and the figure is fixed in writing before we start; call 0494 810 609 for a quote.
What mistakes do we see every week on Sydney paving?
The most common mistake is sealing too soon. The pavers look dry on top at lunchtime on a sunny day after yesterday's clean, the sealer goes on, and by the next morning there is a white, milky blush across half the area as the moisture in the bedding tries to escape through the new film. Fixing it costs more than the original job.
Others we see regularly.
- Pressure cleaning with a hand wand only, which strips joints to the bedding sand in some spots and leaves others full.
- Re-sanding with builders' sand or brickies' sand, which is damp, inconsistent and full of fines that stain.
- Applying polymeric sand on a humid morning and activating it with too much water, which floats the polymer out of the joint and onto the paver face.
- Sealing over efflorescence, trapping it under the film where it will bloom white and need a strip.
- Using a glossy acrylic on a shaded, south-facing pool surround, turning it into a skating rink in winter.
- Reopening the driveway after a few hours, so the first car leaves tyre prints in soft sealer.
What to do next
If your pavers are rocking, growing weeds in the joints or holding green in the shade, start with our paving cleaning and re-sanding page for the full process, then look at driveway sealing for concrete paver driveways and stone sealing if your pavers are natural stone rather than concrete or clay.
We cover the Upper North Shore, Northern Beaches and Eastern Suburbs for paving work. Send photos of the joints and we will tell you honestly if a top-up will do or the full treatment is needed.
Related services: Paving Cleaning & Re-sanding, Driveway Sealing, Stone Sealing. Areas: Eastern Suburbs.